2017 SLP Holiday Gift List!

Friday, December 15, 2017
I can't believe the holidays are here! This is my favorite time of the year. But it can also be stressful. So much to do, so much to buy. Secret Santa gift exchanges, co worker treats, gifts for your own child's teachers and therapists. We always want to pick out the perfect gift, but it's often hard. So, I threw together a list of some of my favorite things to help you out! 
This post contains Amazon Affiliate links (which means if you purchase something using my link, I may make a small commission)

One of my absolutely favorite things are comfy, soft graphic tees. I wear them just about everyday to work with jeans or scrub pants. My favorite tee shop is The Blue Envelope. I love this company because it's owned and ran by a fellow mom.  I have never been disappointed my purchases (I own at least 6 of her shirts!) and she ships orders out fast!! 

An Erin Condren Planner!! I am one of Erin Condren's biggest fans. I have been using her planners for years. They are colorful, durable, and can be customized. All SLPs need a good panner to keep track of their therapy sessions, meetings, due dates.... and life outside of work. This is a perfect gift for the new year! Use this link to get $10 off your first order!

A large, durable therapy bag. I have always been a big fan of 31 totes. My last therapy bag from 31 lasted me 5 years. But I recently ordered one from L.L.Bean and am in love! To call this thing sturdy would be an understatement. I ordered the large Boat and Tote and can fit everything I need it in. I am a traveling therapist... so that's a lot! 

Games! If the SLP you're shopping for works with children, he or she will be thrilled to receive the gift of games! Some of my current therapy favorites are: Yeti in my Spaghetti, Pop Up Pirate, The Sneaky Snacky Squirrel, and Pancake Pile-Up! And you can never go wrong with PlayDoh!


Speech Therapy Christmas Ornaments! The Peachie Speechie is known for her witty SLP apparel, and now she carries Christmas ornaments as well! You can check out all her goodies, here!

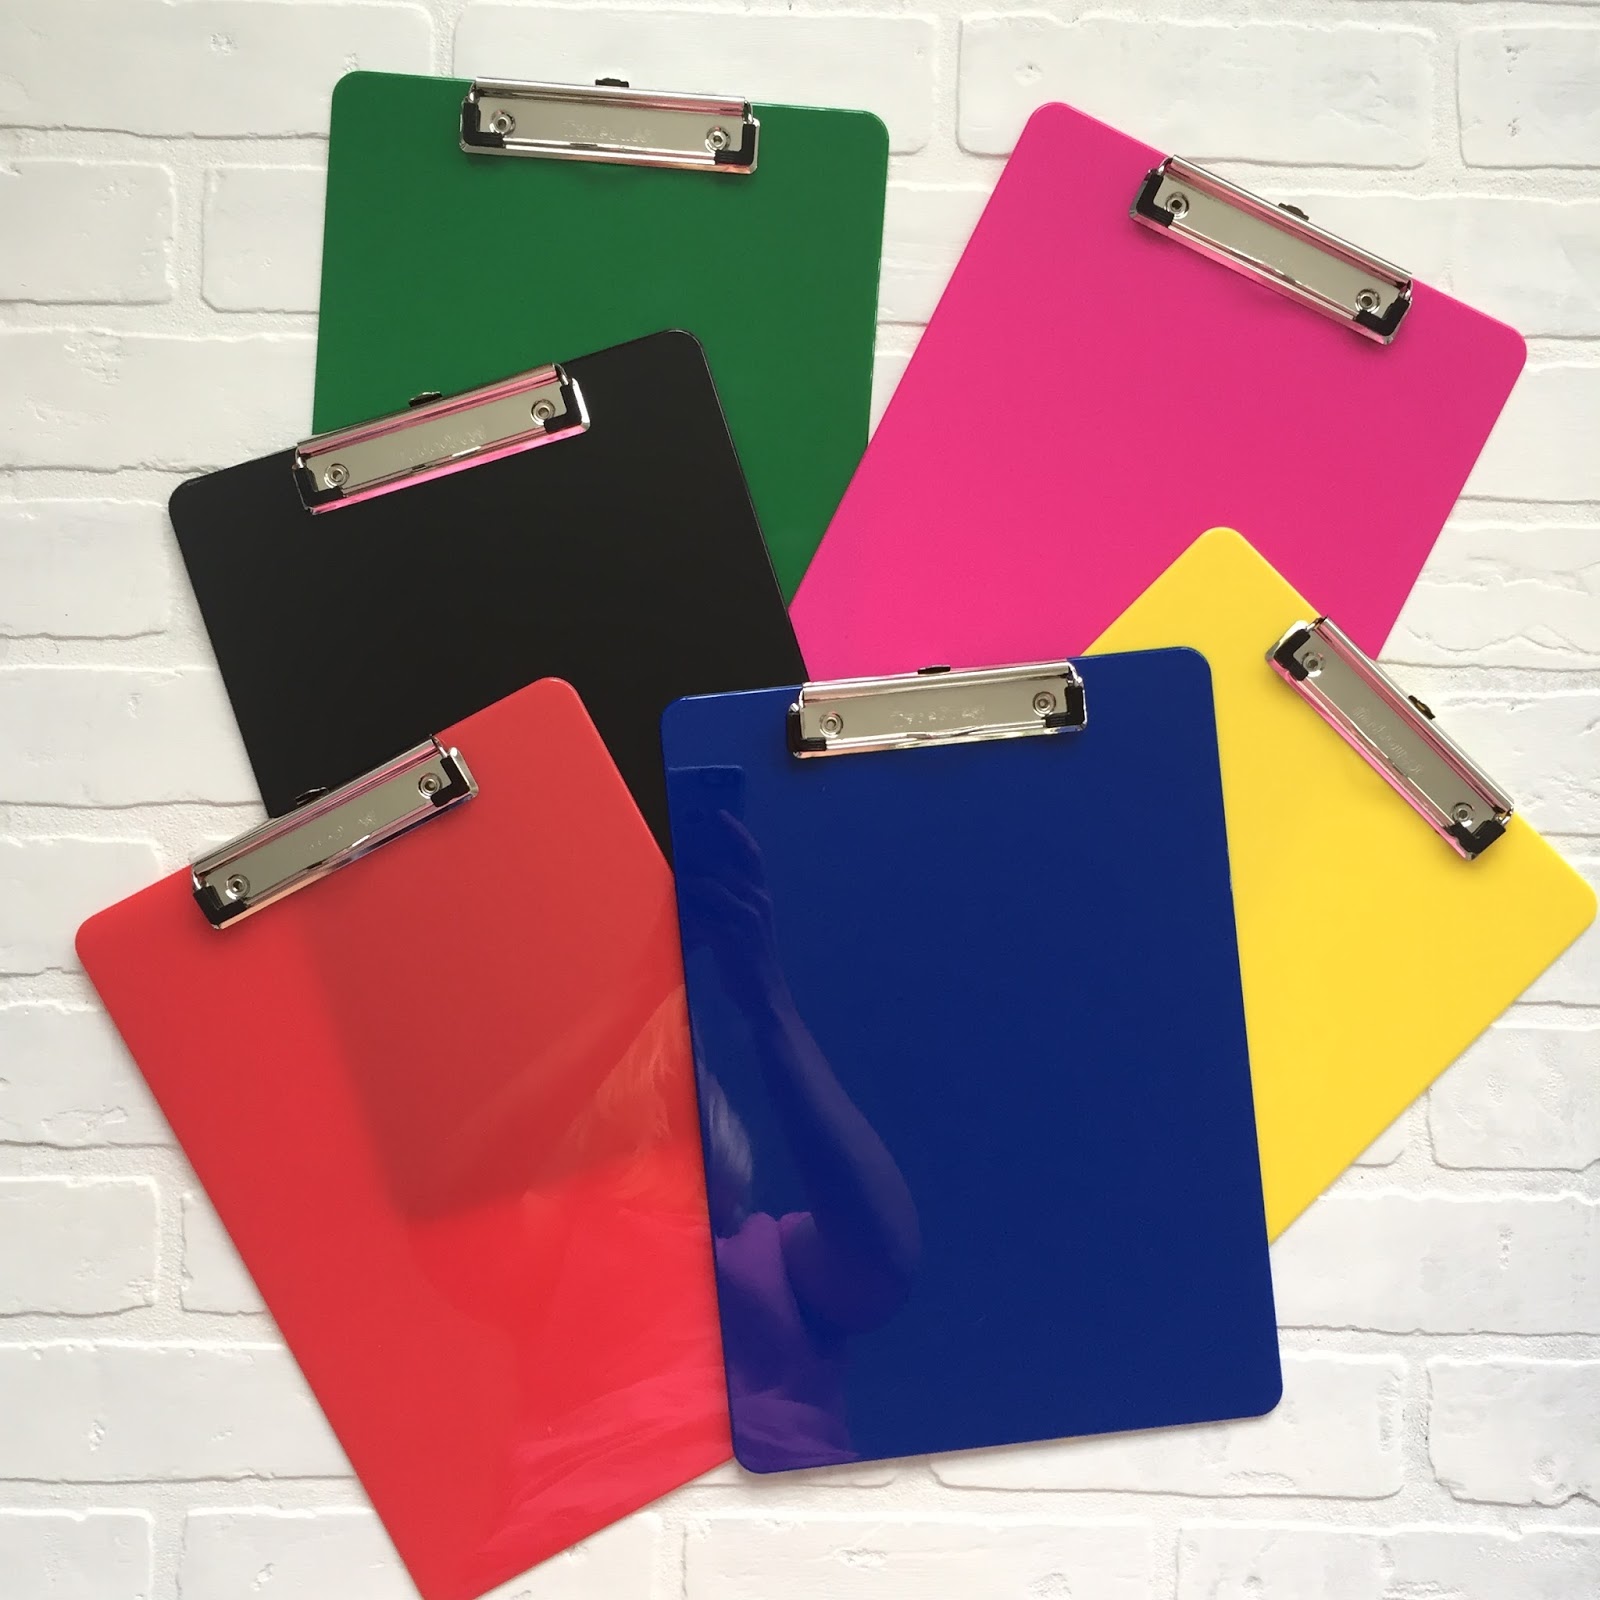
Office Supplies! I kid you not. I would be the happiest girl opening a box full of flair pens, Astrobrights paper, binder rings, rolls of velcro dots, and laminating sheets. All things I use on a daily basis!

Books! Books for therapy are great, but I am thinking more along the lines of book for the SLP. We are busy people by nature. We take on the weight of the world and have a hard time saying, "no!" I have found Emily Ley's books Grace Not Perfection and
  A Simplified Life to be just what I need. It's a fantastic reminder to slow down and simplify. And I always feel like she is talking right to me when I am reading! 

And if all else fails... there are always gift cards. You really can't go wrong with a gift card to his/her favorite Coffee shops, Amazon, Target, or iTunes!

But overall, it's the thought that counts! Have a wonderful holiday season!! If you have any more suggestions, please share them in the comments below.


Putting the ART in Articulation!

Thursday, November 30, 2017
My students absolutely LOVE completing crafts during speech sessions. They love it because they get to take something home they are proud of. I enjoy it because they are focused and working hard during the entire session. 
I also love a good no-prep,print and go craft. So, a few months ago I created some cactus color-by-word articulation worksheets, appropriately named ART-ticulation! My students enjoyed them so much that I started creating them for the upcoming holidays! These have been great to send home as homework as well as use during therapy sessions. 
I personally one work one on one with my students, but since all the pictures turn out the same, these work really well for mixed articulation groups as well!
At the moment I have ART-ticulation worksheets for the following themes:
Cactus
Pumpkins
Monsters
Turkeys
Santa
Snow Globes
...but I just download another giant bundle of clipart for these, so many more are on the way!
You can check all of them out in my TpT store, here!

Peekaboo Beans Children's Clothing Review

Thursday, November 16, 2017
I absolutely love shopping for kids' clothes! You can usually find me stocking up at Old Navy or Target on Cat & Jack swag, but recently I learned about another clothing line, Peekaboo Beans from a fellow SLP, KellyZarfia. I had never heard about this brand before, but was excited to learn more. 
Kelly explained to me that Peekaboo Beans creates ethically manufactured, sensory friendly, long lasting, grow with me styles, that are made with children's development in mind. The clothing was designed with play in mind. Their clothes are designed to promote play and imagination, to help kids feel empowered and to promote independence.  I loved this idea. Adorable clothes made to be play clothes? And sensory friendly? I was sold. My kids are active and not so gentle on their clothes. My little guy always asks to have tags cut out of his shirts so I was interested in seeing how sensory friendly these clothes would be for him. 
 Not only do they create clothes with play and development in mind, but they also host pop-up play dates to get kids back outside and playing. They also donate to 'playgroundbuilders.org' which is an organization that builds playgrounds in war-torn countries. I love organizations that love to give back. 
And, word on the street is that these clothes have great re-sale value. If I am not handing Kenzie or Kameron's clothes down to a friend's child, I usually take them to consignment shops or sell on Poshmark. Typically the re-sale value is low on clothing from popular retail stores, but Peekaboo Beans can be re-sold at around 40% the original price, if not more. 
We received 2 outfits from Peekaboo Beans. Both of my kids loved them and can't wait for it to cool down enough here in FL so they can wear them again. The material is so soft, yet durable. Nothing thin about the fabric. 
Kenzie received the Owl Eyes on You tee and a pair of leggings. The first thing I noticed was the thumb holes in the top! The jeggings were very soft and had a smooth waistband (something I am always looking for when buying her pants, itchy tags are not fun!)
Kameron scored a Cabin Kid Hooded Tee and a pair of jogger pants. The first thing I noticed about the pants was extra material at the knee, clever! So many of Kenzie and Kameron's pants are worn at the knee.  The tee was heavy enough to wear during our Florida winters! And it has pockets! 

You can check out Kelly's website, here, to learn more. All of the items are adorable. And most importantly,  there are no small parts like buttons or snaps and the zippers are are fused together to prevent breakage.  Tops with zippers include chin guards to create a barrier between your Bean’s chin and the zipper.  And there are no drawstrings on hoodies which can get caught during play. Ahhhhmazing! One less thing to worry about while your kids are out being active!
You can contact Kelly with any questions at: kzarifa.peekaboobeans@gmail.com 

This post was sponsored by Kelly Zarifa

Getting Started with Sensory Bins!

Monday, October 16, 2017
I don't know what took me so long to start using sensory bins in my therapy sessions! I absolutely love using them and my students are responding so well to them. The purpose of a sensory bin is to tie a multi-sensory approach into learning. We learn better when we can touch, smell, and see something. Sensory bins let the child explore and discover through play. They are great for both groups and individual learning and they bring out so much language! 

For years I have adored sensory bins from a far. Always Pinning other's awesome ideas, liking Facebook posts, and taking screenshots of every fantastic sensory bin I saw. But I was afraid to pull the trigger. Since I am a private therapist traveling into homes, schools, and daycares, I didn't want to have to lug a giant bin with me everywhere I went.  Then I decided to start small. I found a small, shoe box size container and thought it would be pretty perfect for a small sensory bin that I could easily bring with me. That was all I needed to get started. The rest is sensory bin history!
If you want to get started using sensory bins but are a little hesitant like I was, here is my advice. Start small. Choose two or three fillers to alternate out. I really enjoy using cut up smoothie straws, kinetic sand, and small erasers. Popcorn kernels and black beans are fun ideas, too. But those have all ended up all over my car (face palm) The first 3 mentioned are much easier for cleanup!
Now let's talk about objects to put in the bins. I have used anything from vocabulary cards, story sequencing pictures, articulation cards to wooden animals and puzzle pieces. I really love adding objects that go with a theme. For example, during pirate week I used kinetic sand and added plastic gold coins and jewels that I found on amazon! SO much language about pirates and treasure happened that week!
Finding storage may be the biggest challenge for using sensory bins. My car is my office so I needed something practical that didn't take up a ton of space. I keep all of my fillers (sand, straws, colored pasta, beans, etc) in large zip lock freezer bags. All of those bags go into a tub. For the fillers, I use a photo and craft box I found at Michaels. Here is a link to the exact one I bought.  It is perfect and easily keeps my objects organized by theme. 
Sensory bins are so much fun and create so much hands on learning and language opportunities! Make sure you're following my Instagram (@simply_speech) to see more ideas! 
Have a great week!

A Peek Inside my Therapy Binder!

Monday, September 11, 2017
Staying organized seems to be a constant battle, but a total necessity to keep my sanity. As a traveling therapist, I have become pretty good at collecting piles of "stuff." Therapy notes, receipts, data sheets... oh my! Keeping client information and therapy plans in order is a must. I wanted to share with you how I organize my therapy binder and what works for me.
This post contains Amazon Affiliate links for your convenience. This means if you purchase something from my link, I may make a small commission.
 First things first. Let's be real,  a pretty binder cover is a must. It's something you look at daily, multiple times a day at that. So why not make it something you enjoy looking at? I frequently make new binder covers, but the ones I am currently rocking are tropical. I am totally into pineapples and flamingos right now. You can download the binder covers I am currently using, here! They are editable!
When you open the binder, the first thing you see are 2 clear pocket folders. I use one to stash receipts. The other one I use to keep copies of important documents that are often requested by the schools I go into to see students. I usually keep a copy of my professional liability insurance, my state SLP license, and driver's license.You never know when you may need that and it's nice to have copies on hand.  I do not remember where I got my exact folders from (most likely Target) but here are similar ones on Amazon. 
Next I keep a copy of Speech Musings' data cheat sheet, The Speech Bubble's Quick Reference Chart, and the Speech Sound Development chart from Mommy Speech Therapy in page protectors. All have come in handy more times than I can count. I love having the speech sound development chart handy for teachers and parents that are concerned about their child's articulation. It's a very easy way to explain what sounds are still developing and what they should have mastered. 
Also in page protectors is a copy of my schedule and a Plan of Care list of due dates. Insurance companies requires a new evaluation and report every 6 months, so I like to keep a list handy of expiration dates so I don't miss one!
All of my quick reference and go-to forms are in the front of the binder. In the back is where I keep all my student information. I use pocket dividers to keep all their information in. I'm obsessed with these pocket dividers. (Maybe it's a pocket thing, I love dresses wit pockets, too!) You can snag some similar ones, here. In each student's section, I keep a copy of their goals, their Soap Notes, and my therapy plans. 

That's it! This is what works for me. I would LOVE to hear what works for you because I feel like this an every evolving project.
Happy organizing!

Words to Stick With! Homework Freebie

Tuesday, September 5, 2017
I am a big fan of sending home speech folders. Not just for sending homework, but for communication with the parent. They need to know what we are working on and hear about their child's progress so they can help him or her, too. Last year I wrote a post about what I include in my speech folders, you can check that out here. 
This post contains Amazon Affiliate links for your convenience. This means if you purchase something using my link, I may receive a small commission. 
But in addition to the communication aspect of speech folders, I do like to send homework once a week. Nothing major. Nothing that will take up a lot of time. But something that will help the child practice his or her goals when they aren't with me. I am a huge fan of simple things to send home. I am also a huge fan of pretty colorful things. So, with those two things in mind, Words to Stick With was created! Plus, I am totally digging the cactus right now... along with pineapples and flamingos :)
The cacti are actually a font from A Perfect Blend.
 3 slips fit on a page and they are black and white so they are friendly to your color ink! Don't these look awesome on AstroBrights paper?! 
To use these, just print and cut! I leave these in the front pocket of my therapy binder so I can easily grab one when I need to. It takes 10 seconds to fill these out and send home in their speech folder. And they are the perfect size to put up on a refrigerator and keep up all week to practice!
You can download these for FREE in my store, here!

How I Teach With Smash Mats!

Friday, September 1, 2017
I really should take stock out in PlayDoh. Seriously.  I have used PlayDoh to help my students reach more goals than any other toy or material. They love it. And I don't blame them. It's squishy, it's fun, and it's super motivating. With the love of PlayDoh so high amongst my students, I decided to make some activities that would help them learn as they played. And this is how Smash Mats were born!
My original goal for Smash Mats were to simply teach vocabulary. After we read story, I would name a target vocabulary word, and the child would smash a ball of PlayDoh on the picture of the word. Simple, yet effective! It was a great way to keep data on receptive and expressive vocabulary. But then so many more on the spot, teachable moments happened while using the mats. And now, the use for smash mats has grown to reach so many different areas and therapy goals. Here are a few examples of how I am currently using the mats....
Articulation, Apraxia, and Phonology. I created smash mats for every consonant, blend, and diphthong. I have my students practice their target word before they smash a ball of PlayDoh on the word. But I have been able to use smash mats to target articulation even with my vocabulary mats. If a child is working on the /s/ sound but we are using the under the sea mats, I will have them say, "I see a crab" or "I see a shark." 
Answering Wh-Questions. I created a whole packet just for Wh-Questions. Having the visual available is great for younger children or those just learning the concept of answering who, what, where, and when questions. 
Asking Questions. This can often be a tough concept to teach. We ask our students questions all day long. But how do you teach a child to ask us questions? I have had a lot of luck using smash mats and letting the child be the teacher. Start with a simple imitation, but let them ask you where the target word is on the mat, "Where is the bat?"

Story Sequencing. This has been so much fun. After we read a story, I love using the smash mats to help my students re-tell and sequence the story. The visuals of the characters and vocabulary words are so helpful for them.
Pronouns. Using he/she/him/her/them/them can be a tricky concept for so many students. Why not make the learning process more fun with PlayDoh? My students have a blast finding the picture that matches the description then smashing a ball of PlayDoh on top! I also have used it expressively by having the child describe the picture using correct pronouns before the smashing begins!

Sight Words. These mats were created specifically for one of my students that hated practicing sight words. Enough said!
Categories.  This has been a very effective way to teach about items that belong in the same category and items that don't belong!
 
Now with all these mats, how do you store and organize them? I use a binder. I print, laminate, and hole punch the mats before I stick them in my binder. It's easy to store them this way and very easy to take with me as I travel to see my students! Smash Mats are so much fun and definitely something I will continue to use to help my students reach their  goals!

DIY Dry Erase Clipboards!

Monday, August 28, 2017
Ever since I was in college, a clipboard has been a staple therapy item. SLPs almost always have a clipboard glued to their arms. But recently I learned a trick that has changed the clipboard game forever. And I am excited to share this brilliant idea with you!
This post contains Amazon Affiliate links for your convenience. This means if you purchase something from the links provided, I may make a small commission. 
A few weeks ago I was laying on my couch and watching Instagram stories, (it's a pretty regular daily routine for me after the kids go to bed!) when I saw this genius idea from Ashley at Teach Create Motivate! She shared how she used a roll of white board contact paper to cover the back of clipboards and some of the desk tops in her classroom. 
I was so excited about this because there have been so many times during a therapy session that I had wished I had a whiteboard handy to better explain a direction, illustrate the meaning of a new vocabulary word, or better show articulation placement. Since I am a traveling SLP and no longer have a classroom, my therapy sessions are usually on the floor, in a break room, or in the hallway. It's been years since I have had a glorious white board at my fingertips. So immediately I jumped on my Amazon app and looked for the white board contact paper. Since I didn't need a large roll, I found a pack of individual self stick dry erase sheets for less than $9.00. 
They work perfectly and fit just right on the back of a standard clipboard. No trimming necessary! Just peel off the backing, stick in on the back of the clipboard, then smooth out the air bubbles. Of course I then wanted to have a clipboard available for my students and one for Kenzie since she was now in kindergarten, so I bought a pack of clipboards, too. 
 How fun are these? I am so excited to have these clipboards now. As I was making them, I kept thinking about what a fun gift these would be for co-workers! Enjoy!


It's Time to Ditch the Treasure Box!

Monday, August 21, 2017
As educators that work with children, we naturally want to reward them for their successes. Especially when working with students with special needs, the smallest gains should be celebrated! When I started my career in the school system, I used a treasure box. I would spend my own money and buy trinkets from the dollar store on a regular basis. I eventually got tired of spending my own money on "junk" that probably got thrown in the trash a few days later.
Fast forward a few years, and I started using Brag Tags. These were fun, motivating tags that my students could proudly wear or have displayed in the speech room whenever they met a goal or did something pretty amazing. 
 Now that I am traveling to different homes, schools, and daycares to see my students, brag tags don't quite work. I still love the idea but needed something a little more travel friendly. This is when Brag Bracelets were born!
These bracelets are very easy to keep with me as I travel to each student. I print them, cut them out, and store them in a plastic container (a large zip lock baggie would work, too). I made them black and white so they are ink friendly but super fun to print on colorful paper! Another fun idea is printing them on white paper and letting your student color them before they proudly display their bracelets of honor!
 I created 44 different Brag Bracelets with a fun Emoji theme (who doesn't love Emojis?!) and added them to my store for you to enjoy with your students, too! If you would like to see any other sayings added, please send me an email and I can add more to this packet. You can check them all out, here!
 I hope you have an amazing year with your students!


Powered by Blogger.